How to Cook Chicken in an Oven Bag
The easy weeknight solution: juicy, delicious chicken made simple with Reynolds Kitchens® Oven Bags
Last updated: April 7, 2026
When weeknight dinners call for something satisfying and simple, preparing and cooking your chicken in an oven bag delivers juicy, flavorful results with minimal effort. Whether you select a whole chicken for the family or cooking chicken breasts, thighs, or wings, oven bags lock in moisture and natural juices while requiring little hands-on time. Best of all, cleanup is remarkably easy—no scrubbing roasting pans or dealing with baked-on residue. It's an ideal solution for busy families who want a delicious, home-cooked meal without spending hours in the kitchen.
Cooking chicken in an oven bag
Preheat your oven to 350°F. Add a tablespoon of flour to a large oven bag and shake to distribute evenly—this will keep the bag from bursting. Then, place the bag in a roasting pan and put your seasoned chicken and vegetables inside. Secure the bag with the included tie, cut six small slits on top for steam, and place it in the oven. Cook according to your chicken’s weight and use a meat thermometer to check when it’s done. Cleanup is simple since you won’t have a messy pan. For more details, see below or check the instructions that came with your oven bag.
You’ll need:
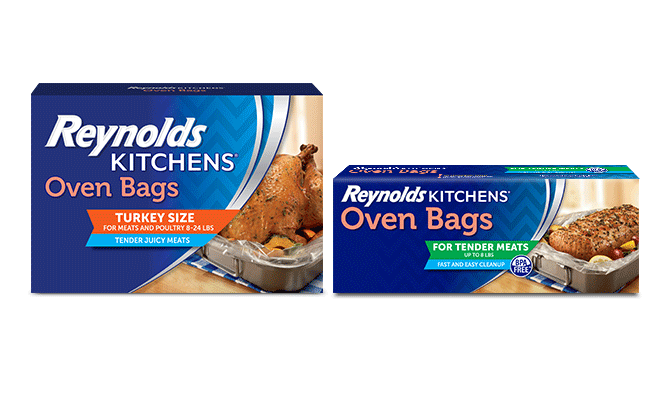
- Reynolds Kitchens® Large Oven Bag
- Optional: Thick-cut vegetables such as potatoes, onions, celery, or carrots
- 8-pound or less whole chicken or chicken pieces
- 1 tablespoon flour (or a flour alternative, such as wheat, rice, potato, nut, or gluten-free flour, cornstarch, cornmeal, or matzo meal)
- Ties that come in the oven bag package
- Large oven-safe roasting pan or disposable aluminum roasting pan that is at least 2 inches deep
- Seasonings
- Meat thermometer
You'll Need...
Oven Bags
How to prepare a whole chicken for roasting
Using a large oven bag to cook chicken is a straightforward way to achieve tender, flavorful results. Oven bags work well with any chicken cut—from whole birds to individual pieces. To ensure your whole chicken roasts evenly and turns out perfectly juicy, proper preparation is essential.
Start by removing your chicken from the refrigerator about 15 minutes before cooking to bring it closer to room temperature. Remove the giblets from the cavity, then pat the chicken dry with paper towels—there's no need to rinse it.1 Season the cavity generously with salt, pepper, and your choice of herbs or aromatics, such as garlic, lemon, or fresh thyme. Finally, brush the exterior with oil or melted butter and season it well.2 With these simple preparation steps, your chicken will be ready for the oven bag and on its way to becoming a delicious weeknight meal.
How to cook a whole chicken in an oven bag in five easy steps
Step 1: Preheat the oven
Preheat the oven to 350°F, or as directed by the recipe. Do not exceed 400°F. Do not use in a countertop electric roaster oven or toaster oven. Lay the bag flat in a pan at least 2 inches deep, with the bag opening to the right or left. Ensure the bag is not upright, with the opening on the top.
Step 2: Prepare the bag
Always add flour as specified in the recipe or chart below to help prevent the bag from bursting. You may use rice, potato, nut, or gluten-free flours, cornstarch, cornmeal, or matzo meal instead of wheat flour. Sprinkle the flour into the bag and shake to distribute evenly. If adding vegetables, arrange them evenly in the bag.
Step 3: Place chicken in the bag
Brush the chicken with vegetable oil or melted butter. Place the chicken in the bag, then season as desired. Close the bag with the tie included in the package. Cut six, ½-inch slits in the top of the oven bag to allow steam to escape. Tuck the ends of the bag into the pan.
Step 4: Properly position the pan in the oven
Place pan in the oven, allowing room for the bag to expand during cooking without touching heating elements, wall, or racks. The bag should not hang over the rim of the pan.
Step 5: Roast in the oven
Bake according to your recipe or the temperature chart below. Always check for doneness with a meat thermometer. To serve, carefully cut open the top of the oven bag. Remove drippings with a ladle to make gravy if desired. Remember—always support the oven bag with the pan. Enjoy!
How long does it take to cook a chicken in an oven bag?
Cooking a chicken in an oven bag varies based on the chicken's size and cut, as well as the oven temperature. For food safety, cook your chicken to an internal temperature of at least 165°F in the thickest part of the breast and thigh, in several places, without touching the bone. However, if you prefer well-done chicken with no pink juices, cook chicken breasts to 170°F, and whole chickens and other chicken cuts to 180°F.
Oven bag chicken cooking times chart
Always add 1 tablespoon of flour and shake to evenly distribute when preparing your chicken in an oven bag. Do not add any water (unless directed by recipe).
OVEN BAG CHICKEN COOKING TIMESThe cooking times are consistent with food safety guidelines provided by the USDA. | |
| Chicken Weight | Cooking Time @ 350°F |
| No water is needed. Cook until internal temp reaches 165°F in the breast and thigh in several places, not touching the bone. (If you prefer a well-done chicken with no pink juices,180°F in the thickest part of the thigh, not touching the bone) | |
| 3 1/2 to 4 pounds | 1 to 1 1/4 hours |
| 4 to 7 pounds | 1 1/4 to 1 1/2 hours |
| Chicken Breast Halves, Bone-in No water needed. Cook until internal temp reaches 170°F | |
| 1 1/2 to 2 1/2 pounds | 40 to 45 minutes |
| Chicken Breast Halves, Boneless No water needed. Cook until internal temp reaches 170°F | |
| 3/4 to 1 1/2 pounds | 25 to 30 minutes |
| Chicken Pieces No water needed. Cook until internal temp reaches 180°F | |
| 2 to 3 pounds | 45 to 50 minutes |
| Chicken Thighs No water needed. Cook until internal temp reaches 180°F | |
| 1/2 to 2 1/4 pounds | 35 to 40 minutes |
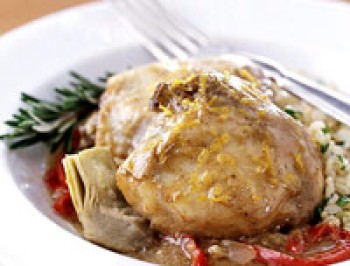
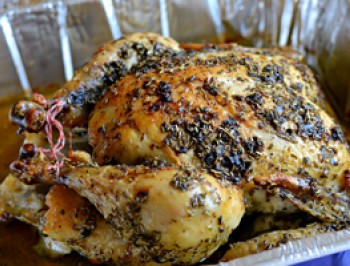
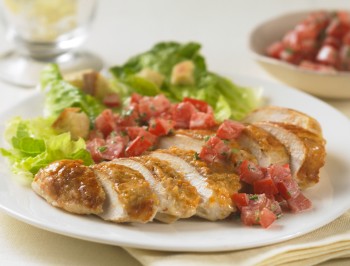
Delicious oven bag chicken recipes

Oven bag chicken: Frequently asked questions
What are oven bags made for?
Reynolds Kitchens® Oven Bags are specifically made for oven roasting. They are oven-safe at a maximum temperature of 400°F (or 200°C). They’re BPA-free, FDA-compliant, and keep your dinner mess to a minimum. Find more helpful information in our comprehensive guide to cooking in oven bags.
Do oven bags cook chicken faster?
Yes, oven bags can help reduce cooking time by trapping steam and heat, helping whole chickens over eight pounds cook more quickly, when used as directed. The moist heat circulating around the chicken promotes faster, more even cooking throughout. Additionally, oven bags create a self-basting effect—moisture collects inside the bag and continuously drips down onto the food, keeping the chicken juicy and preventing it from drying out. This combination of efficient heat distribution and natural basting makes oven bags an excellent choice for preparing tender, flavorful chicken in less time than traditional roasting methods.
Chickens under eight pounds and other chicken parts generally cook in the same amount of time as other roasting methods.
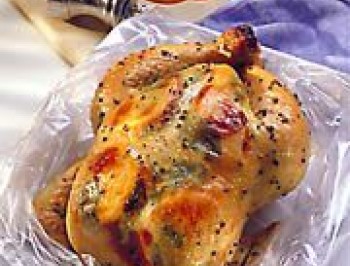
Will chicken brown in an oven bag?
How can I get a crispier skin with an oven bag chicken?
What is the maximum temperature for roasting a chicken in an oven bag?
Do you cook chicken breast side up or down?
Can you add chicken broth to an oven bag?
Can you roast vegetables in the same oven bag as the chicken?
Can I marinate my chicken in an oven bag?
Related tips and how-tos:


Resources
- Holland, K. (2023, January 31). 10 Mistakes You’re Making with Raw Chicken. Allrecipes.
- Garten, I. (2025, December 29). Ina Garten’s Perfect Roast Chicken. NY Times Cooking.