How to Line a Loaf Pan with Parchment Paper
Using parchment paper in a loaf pan is a simple way to prevent sticking and make cleanup easier. Follow these easy steps to cut parchment paper for your loaf pan, so your favorite breads and baked treats lift out beautifully.
Last updated: October 13, 2026
Parchment paper for bread pans and baking
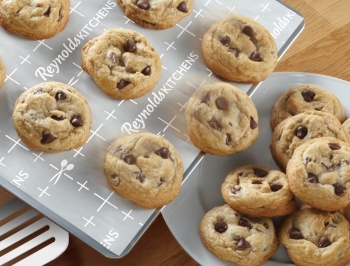
Parchment paper is a handy baking essential that helps prevent sticking and makes cleanup a breeze. Whether you’re lining a loaf pan for your favorite bread, creating a parchment sling for easy brownie removal, or covering a cookie sheet before baking, its non-stick surface helps baked goods release cleanly from the pan. It’s a simple step that can make baking breads, brownies, cookies, and other homemade favorites a little easier from start to finish.
What is the best parchment paper for lining loaf pans?
Both Reynolds Kitchens® Parchment Paper with Stay Flat Dispensing and Reynolds Kitchens® Unbleached Parchment Paper are great choices for lining loaf pans. Their non-stick surface helps breads and other baked treats release easily from the pan while keeping cleanup quick and simple. Just don't substitute wax paper, since it isn’t designed for use in the oven unless it is completely covered by batter or other food. Not sure which paper to reach for? Check out our guide to Wax Paper vs. Parchment Paper to learn more.
Does it matter which side of parchment paper goes down?
No. Both sides of the parchment paper provide the exact same non-stick protection for your food and baking sheets.
Can I make a foil sling for baking instead?
Yes, you can make a foil sling in a pinch, but parchment paper is usually the better choice for baking. Parchment paper is non-stick, so you don’t need to spray or grease the pan, and your baked goods lift out more easily. Because foil conducts heat differently, it may cause foods to cook or brown faster, especially on the bottom, so you may need to adjust your baking time or temperature and keep a close eye on your recipe. Learn more about Baking with Parchment Paper vs. Foil.
How to cut parchment paper for a loaf pan
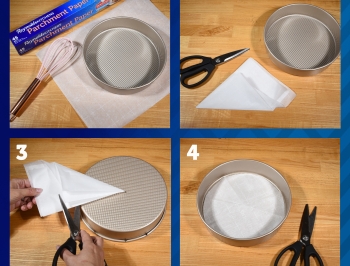
This is like our parchment sling for brownies, but it uses only one sheet of parchment paper.
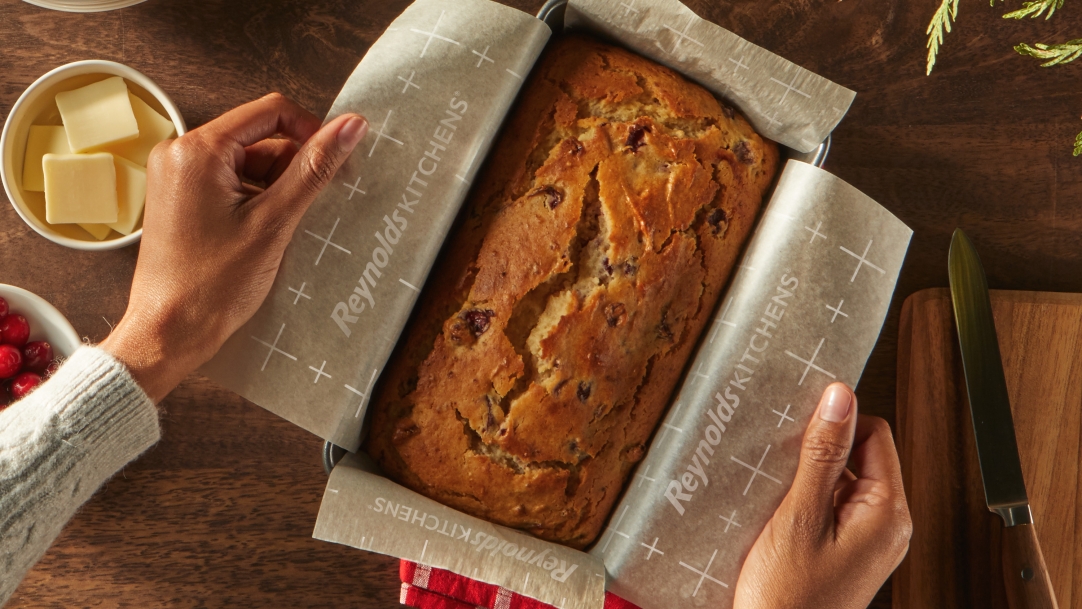


Step-by-step directions
- Tear a sheet of parchment from the roll that is larger than your loaf pan, leaving a 1–2” overhang on all four sides
- Place the sheet of parchment under the loaf pan and cut out squares on each corner
- Fold the sides and the ends of each flap towards the center to form a sling
- Place the sling in your loaf pan, fill with batter, and bake
- Ensure the parchment paper sling sides do not touch the oven racks or walls
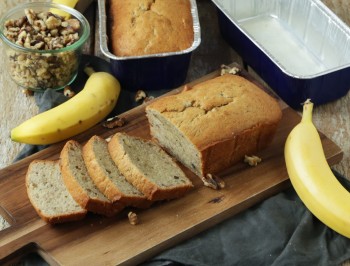
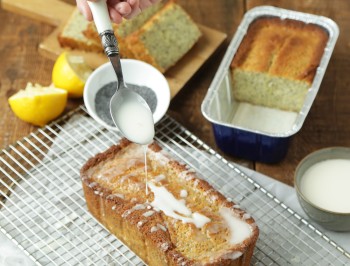
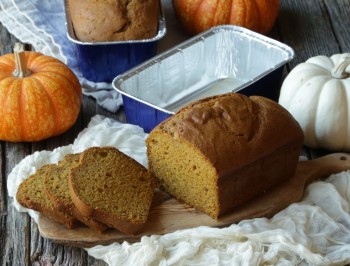
Our best loaf recipes to try

Frequently asked questions
What is a bread sling?
Is there a difference between a bread pan and a loaf pan?
What kind of pan is best for making banana bread?
Do I need to spray the pan before lining my loaf pan with parchment paper?
Will my loaf stick to the parchment paper?
Related tips and how-tos: